Use a simple chemical reaction to clean pennies or turn them green!
Grades: 3rd grade and up
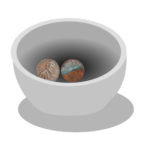
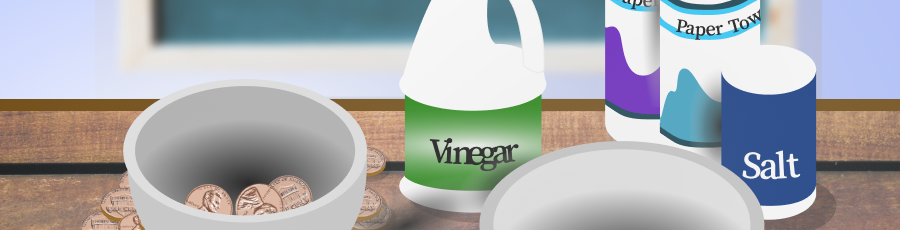
Materials: 4 or more pennies (some from before 1982, if possible), vinegar, salt, 2 small non-metal bowls, paper towel
Time: 10 minutes (active time), 60 minutes (wait time)
Steps:
- Place a piece of paper towel in the bottom of each small bowl. Remember, do not use metal bowls.
- Place two pennies in each bowl.
Note: Pennies made before 1982 have a higher copper content than pennies made after 1982. The chemical reactions in this experiment will be more visible with the older pennies since they have more copper. - In Bowl 1, pour in a little bit of vinegar to soak the paper towel. Let this bowl sit for one hour.
- In Bowl 2, pour in some vinegar and salt. Swirl or stir to dissolve the salt. Within about 30 seconds, the pennies in this bowl will start to shine. The vinegar and salt mixture dissolves the outer layer of dirt. Flip the pennies over and wait another 30 seconds. Then remove them, rinse them with water, and dry. Now you have two clean, shiny pennies!
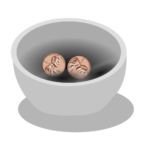
- After an hour, check on Bowl 1. You should start to see a green layer forming on the pennies.
What is happening?